By 3pm, your eyes feel like sandpaper. You rub them. You bump up your screen brightness. You tilt the monitor. Nothing helps. If that sounds familiar, the problem almost certainly is not your screen and it is not your eyes. It is the light in your room fighting with the light coming from your monitor, and your eyes are caught in the middle trying to reconcile both all day long. Most people try to solve eye strain by buying blue-light glasses or fiddling with display settings. Those are band-aids. The real fix is controlling the light that falls on your desk and your face, and a monitor light bar is the most direct way to do that.
This guide walks through exactly how to reduce eye strain in your home office using a monitor light bar, step by step. The recommended tool throughout is the BenQ ScreenBar LED Monitor Light Bar, which has a 4.7-star rating across more than 5,000 reviews and uses an asymmetric optical lens specifically designed to light your desk without bouncing any glare back onto the screen. If you want the full product breakdown before or after reading this guide, check out our full BenQ ScreenBar long-term review.
If screen glare is your problem, this is the fix that actually works.
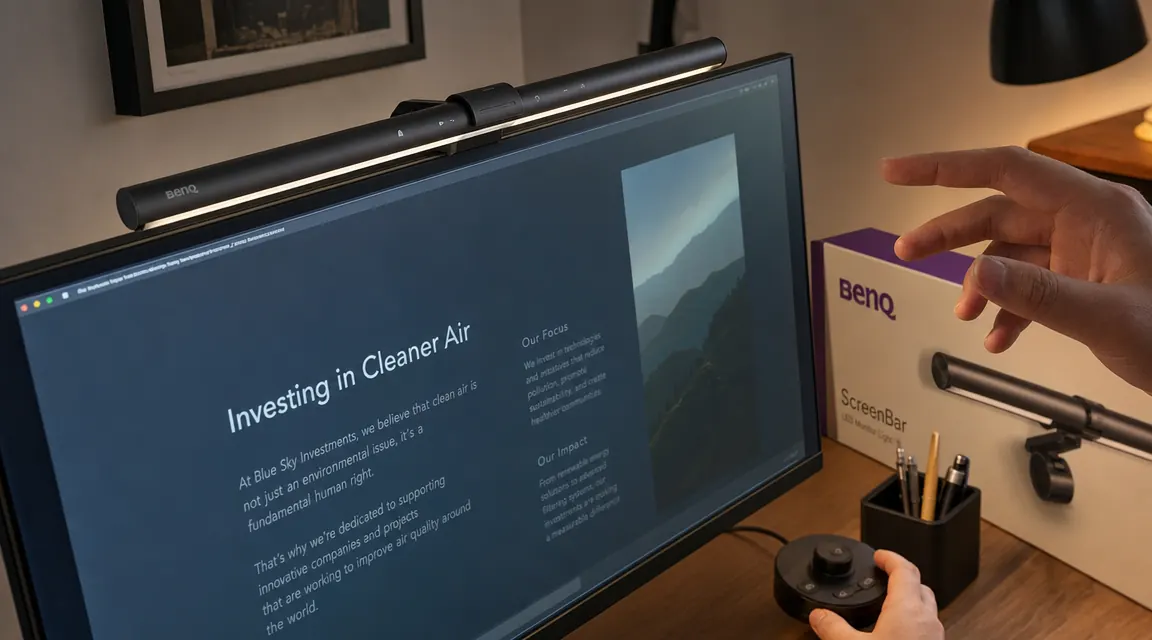
The BenQ ScreenBar clips to any monitor, needs no desk space, and auto-adjusts brightness based on ambient light. No glare on the screen. No separate power outlet required.
Amazon Check Today's Price on Amazon →Why Monitor Lighting Causes Eye Strain in the First Place
Your eyes are constantly adjusting to balance two competing light sources: the bright screen directly in front of you and whatever ambient light surrounds it. When the room behind and around the monitor is significantly darker or brighter than the monitor itself, your pupils keep dilating and contracting to compensate. Do that for six hours and you end up with that heavy, burning, unfocused feeling that most people call eye strain.
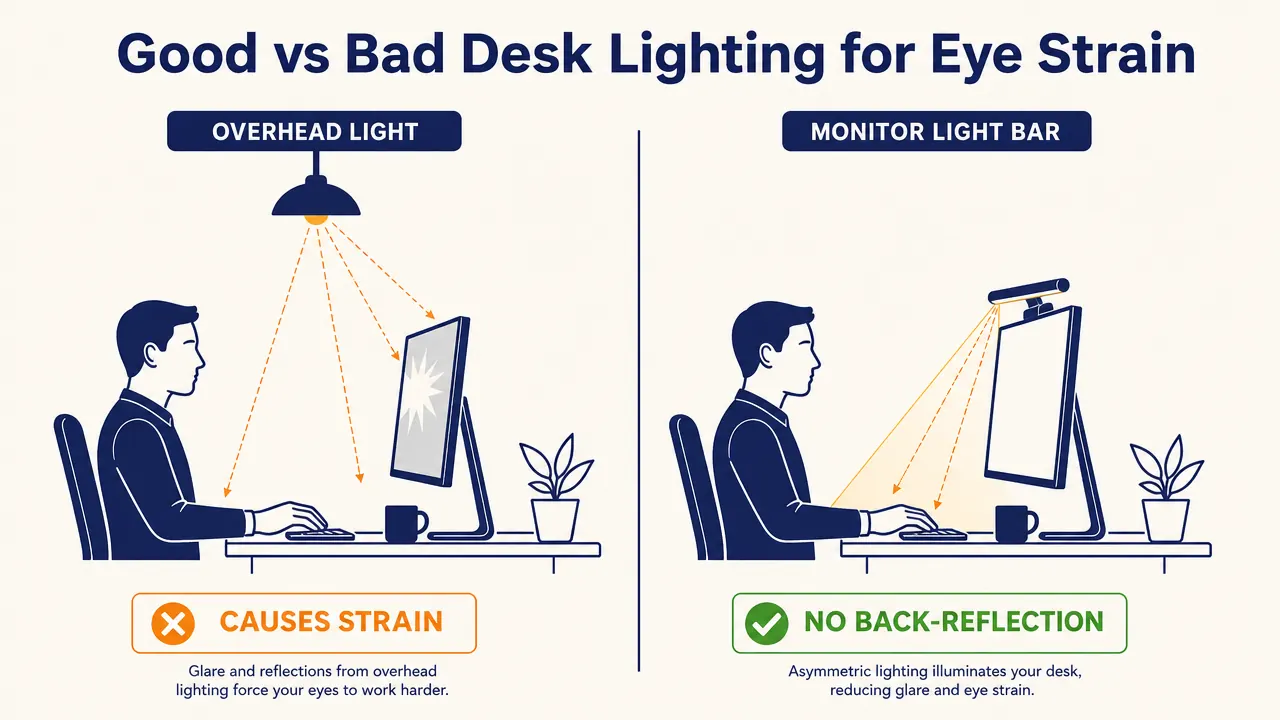
The second problem is glare. Overhead room lights, windows, and desk lamps all cast light at angles that can reflect off your screen. You may not consciously notice the reflection, but your eyes are working harder to see through it all day. A desk lamp is often the worst offender because it sits at the same height as your face and shines directly at the screen.
A monitor light bar solves both issues at once. It mounts on the top edge of your monitor and uses an asymmetric lens to throw light downward onto your desk and keyboard, not backward onto the screen. It raises the ambient brightness around your workspace without adding any reflected glare to the display itself. Your pupils stop fighting. Your eyes relax. It sounds simple because it is.
Step 1: Audit Your Current Lighting Setup
Before you change anything, sit at your desk at your normal working time and look for these specific problems. Is there a window directly behind or beside your monitor? That is a glare source. Is there an overhead light that appears as a faint reflection when you look at a dark portion of your screen? That is contributing to eye strain. Is your room noticeably darker than your screen, so the display looks like it is the only light source in the space? All three of these are common in home offices and all three make eye strain worse.
Take note of which lights you can control and which you cannot. A window can be managed with a blind or by changing your work hours. A ceiling fixture can be turned off or dimmed. Your desk lamp, if you have one, is probably doing more harm than good if it is positioned between you and the screen. Write down what you find. Step 2 uses this inventory to decide placement.
This audit takes about five minutes and pays off immediately because you will stop making changes that do not address the real source of the problem.
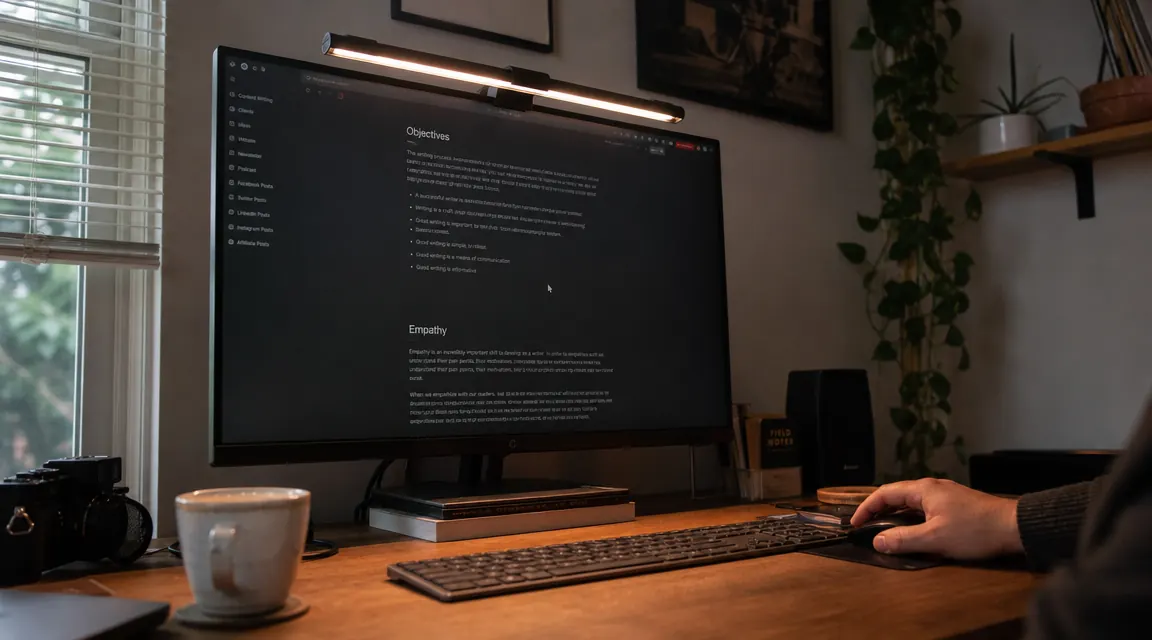
Step 2: Mount the Monitor Light Bar Correctly
The BenQ ScreenBar uses a weighted clip that balances on the top edge of your monitor without any adhesive or mounting hardware. It works on monitors from about 0.4 to 1.2 inches thick, which covers the vast majority of modern flat-panel displays including curved monitors. Set the clip on the top bezel, center it left-to-right, and the counterweight on the back holds it in place. It takes about 45 seconds to install.
The critical thing to check after mounting is the light angle. Look at your screen from your normal seated position. You should not see any light from the bar itself shining back at you and you should not see any reflection of the bar in the screen surface. If you do, the bar has tilted slightly forward. Most monitor light bars including the ScreenBar have a small rotation adjustment at the mount point. Tilt it back until the beam points straight down at the desk surface. That asymmetric lens is doing the work here: it sends about 90 percent of the light toward your desk and none of it behind the plane of the monitor.
Step 3: Set the Color Temperature for Your Work Period
Color temperature is measured in Kelvins. Lower numbers, around 2700K to 3000K, produce warm amber light similar to an incandescent bulb. Higher numbers, around 5000K to 6500K, produce cool blue-white light similar to daylight. The BenQ ScreenBar adjusts from 2700K to 6500K and this range matters more than most people realize.
For morning work when you need to be alert and focused, set the color temperature toward the cooler end, around 5000K to 6500K. Cooler light signals wakefulness and helps maintain concentration. For afternoon and evening work, shift toward the warmer end, around 3000K to 4000K. This reduces the amount of blue light reaching your eyes during the hours when your body is naturally starting to wind down, and it tends to be easier on eyes that have already been working all day. The ScreenBar has a simple touch dial on the top for both brightness and color temperature, so you can make this adjustment in a few seconds without reaching behind the monitor or hunting through a settings menu.
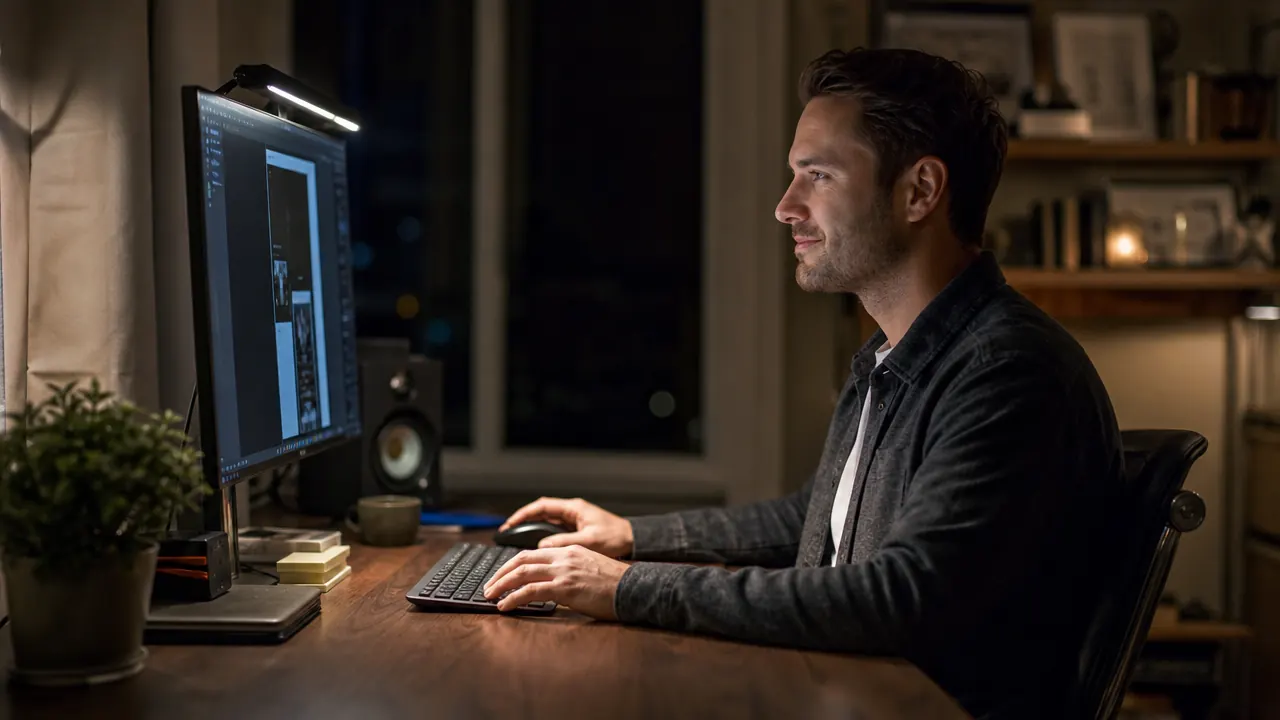
Once I stopped fighting my overhead light and let the ScreenBar handle my desk illumination, the afternoon headaches stopped inside of three days. I had been buying the wrong solution for months.
Step 4: Use Auto-Dimming to Match Ambient Light
The BenQ ScreenBar includes a built-in ambient light sensor that automatically adjusts brightness to maintain a consistent 500 lux on your desk surface. This is the illuminance level recommended by most ergonomics standards for computer workstation tasks. When clouds pass over and your room dims, the bar brightens. When afternoon sun fills the room, it dims back. You do not have to think about it.
The reason this matters for eye strain is that the primary cause of that sandpaper feeling is not brightness by itself but rapid, repeated changes in brightness. Every time you glance from your screen to a document, from your keyboard back to the screen, or from the monitor to a window, your eyes are adjusting to a different light level. Auto-dimming keeps your desk surface and your screen at a stable, balanced relationship so those micro-adjustments happen much less often. It is one of those features that seems minor until you use it.
You can also set brightness manually if you prefer a fixed level. The auto-dimming can be toggled off with a single tap on the sensor button on top of the unit.
Step 5: Adjust Your Monitor Position and Screen Settings
A monitor light bar handles the ambient lighting problem, but your monitor's own settings still matter. With the ScreenBar in place and your desk well-lit, reduce your monitor brightness to the point where the screen does not look noticeably brighter than the surrounding desk surface. Most people run their monitors too bright because the room is dark, and a bright screen in a dark room is exactly the condition that causes the most eye strain. Once your desk is lit at 500 lux, you can typically drop monitor brightness to 50 to 70 percent and the display will look sharper and more comfortable, not dimmer.
Monitor height also plays a role. Your eyes should land at or just below the top third of the screen when you are sitting in a neutral, relaxed position. If you are looking up at the screen, your eyes are open wider and you blink less often, which contributes to dry-eye discomfort that compounds with lighting-related strain. If your monitor is too low, you are hunching forward and your eyes are closer to the screen than they should be. Correct height costs nothing to fix and makes everything else you do here more effective.
What Else Helps With Eye Strain
The monitor light bar handles the biggest variable, which is ambient lighting quality and balance. But a few other adjustments stack well with it. The 20-20-20 rule is worth taking seriously: every 20 minutes, look at something at least 20 feet away for 20 seconds. This lets your eye muscles relax from the constant near-focus of screen work. Set a timer if you will not remember on your own.
If you have windows in your field of view, a matte screen protector or a monitor with an anti-glare coating will catch direct window reflections that even a well-placed monitor light bar cannot address. The ScreenBar eliminates the desk-lamp and overhead-light glare sources, but direct sunlight on a monitor requires either repositioning the monitor or managing the window. A $15 roller blind often solves it completely.
If you are weighing your options on monitor lighting before buying, the BenQ ScreenBar vs Quntis comparison breaks down how the $109 ScreenBar compares to the $40 Quntis on light quality, auto-dimming accuracy, and build quality. For most full-time home-office workers, the ScreenBar's sensor and color temperature range justify the premium. For occasional use or a tighter budget, the Quntis is a reasonable starting point. You can also read through 10 reasons a monitor light bar beats a desk lamp if you are still on the fence about whether this type of lighting actually makes a difference.
Still running your desk off a room light and a laptop screen? Here is the upgrade that fixes that.
The BenQ ScreenBar has a 4.7-star rating from more than 5,000 verified buyers. It clips on in under a minute, needs no desk footprint, and the auto-dimming sensor does the work of keeping your lighting balanced throughout the day.
Amazon Check Today's Price on Amazon →